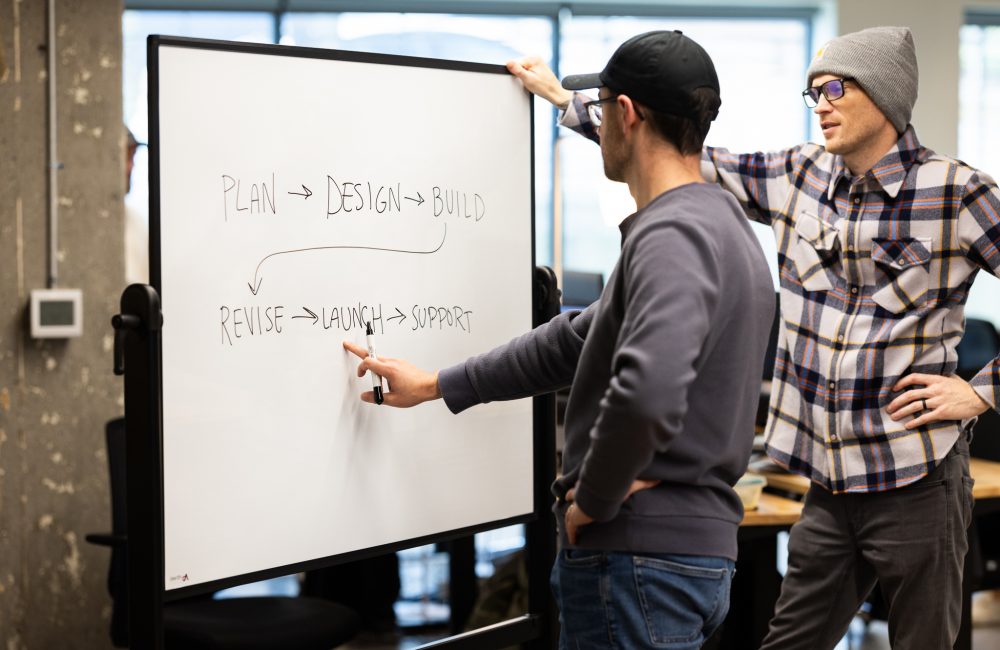
“I think we need a new website.”
These seven simple words are enough to give any business leader or marketing executive a serious case of night sweats.
The benefits of a fresh, well-built website are obvious: better conversion rates, enhanced user experience, improved search engine rankings. But with everything that goes into building a new company website, it can feel daunting to know where to begin.
Well, perspire no more, my friend! After building hundreds of websites for companies over the last 15 years, we’ve developed an efficient and effective process that we use to make building websites a breeze. And we want to share it with you! So grab a hanky, dab that forehead, and peep our 6 steps to designing a company website.
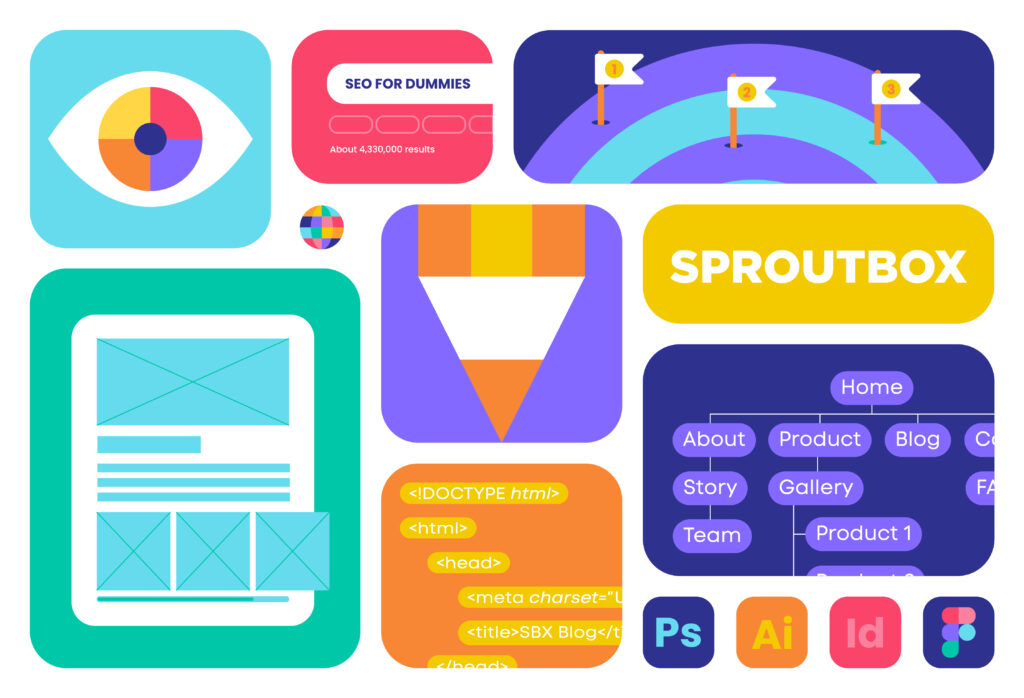
Step One: Plan
There’s an old Yiddish proverb that goes, “We plan. God laughs.” Allow me to offer a slight variation on that saying: You don’t plan. Web developers cry.
For a project as big and complex as building a new company website, some careful planning at the start goes a long way toward making sure the process runs smoothly. From getting the right stakeholders involved to defining key project deliverables, taking the time to get everyone on the same page is absolutely essential if you want to end up with a killer company website that’s finished on time and on budget.
Here’s what the planning stage looks like:
- Assemble the team
- Research & discovery
- Sitemap & feature brief
- Preliminary SEO
- Write the content
- Create a styleboard
Assemble the Team
Before you get working on anything, you need to have the right people in the room. On the agency side of things, that includes a web developer to build the site, a graphic designer to create the visual framework for the site, and a content writer to write all the copy for the site. We also have an awesome Web Project Manager who helps keep everything organized and moving in the right direction.
Internally, you’ll want to loop in key decision-makers. That could be the CEO, a marketing director, or a sales leader. While you want a variety of inputs, you also don’t want to muddy the waters and slow everything down by having too many voices. So think carefully about who needs to be involved.
Research & Discovery
With the team assembled, it’s time to do some digging. We thoroughly review your current site to determine what’s working, what’s not, and what assets need to be carried over from the old site to the new one. Then, we run an extensive discovery process to better understand your brand, including your mission, values, audience, personality, and voice. These things will help us establish a clear visual direction for your new website, as well as inform the kinds of content your website needs and what the tone should be for all that copy.
Sitemap & Feature Brief
During discovery, we also work with you to hash out a preliminary list of features you need for the new site (a “feature brief”), as well as a rough sketch of how the site should be structured (a “sitemap”). After this initial conversation, our development team will polish everything, producing a final sitemap that ensures your website contains all the necessary pages and that those pages are organized in a smooth hierarchy.
Preliminary SEO
Search engine optimization (SEO) is a huge topic. From keyword research and content optimization to page speed and mobile friendliness, there are many things you should be doing to improve your SEO and help your website rank higher in search engines. But at this point in the process, we’re only focusing on one small but important step to get your website’s SEO started on the right foot: redirects. Our SEO team will take the sitemaps for both the old and new sites, noting any significant URL structure changes so that your old site will redirect properly to your new site.
Write the Content
After getting a good feel for your brand’s voice in the discovery session, our content writer will take the approved sitemap and write copy for a few key pages, like your homepage, about page, and a product page or two. We’ll review this initial content together to make sure we’re on the right track with things like tone, length, and style. Then we’ll move forward with writing content for every page in the new sitemap, reviewing along the way until you’re ready to give your final stamp of approval.
If you’re happy with the content on your current site or only want to make minor adjustments to fit the new site structure, you also have the option of migrating that content over to your new website.
Create a Styleboard
Okay, we’ve done our research, we have a solid site structure, and we wrote some great content — now all we need is a visual direction for the new website. To do this, our design team will create a styleboard. This document contains color codes, fonts, and other resources defining your brand’s visual identity. The style guide also includes concepts for potential webpages so you can start to see what your new site could look like in its polished form.
Step Two: Design
Nice! It took a bit of work, but we’ve got a plan in place that will keep us on track as we start to build your website. Next comes the fun part. Using the approved styleboard and sitemap, our design and development teams will start creating some static versions of key pages on your new site.
Here’s a snapshot of the design stage:
- Lo-fi wireframes
- Hi-fi mockups
- Content migration
- Credentials
Lo-Fi Wireframes
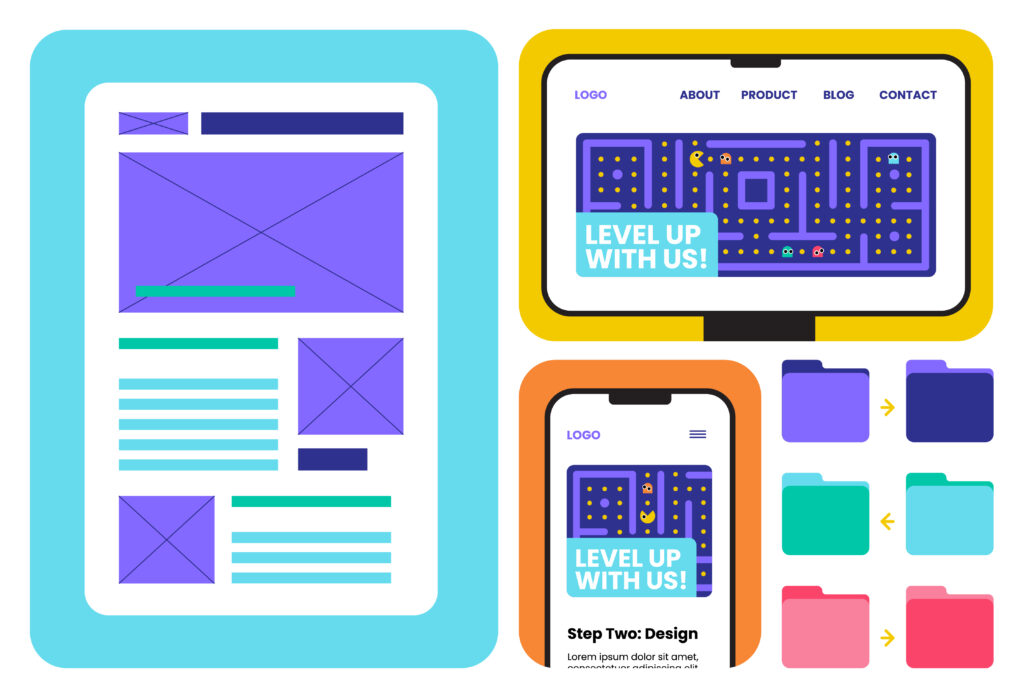
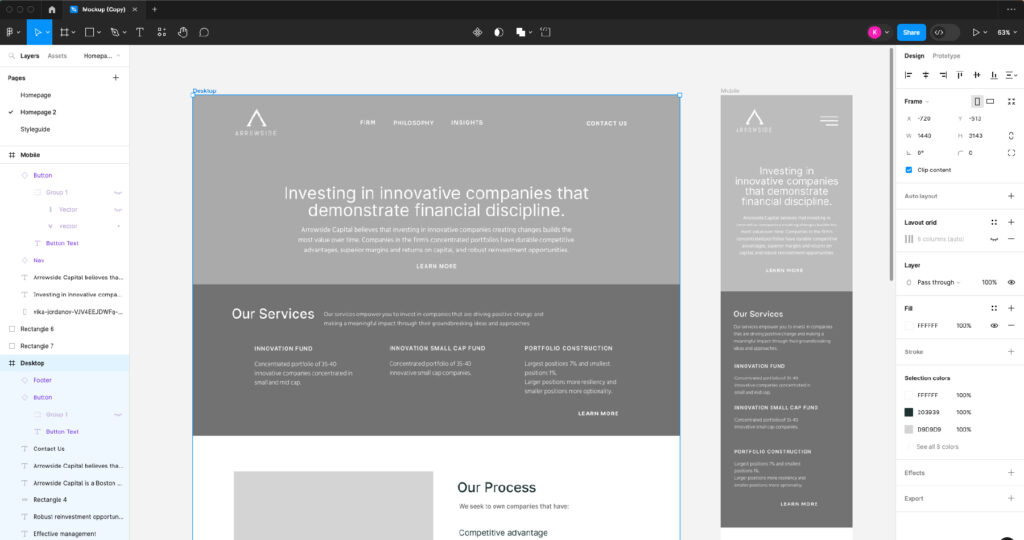
Think of a lo-fi wireframe as a digital napkin sketch. It’s a bare-bones, black-and-white layout of all the key structural elements on a webpage. This helps us make sure you’re happy with the overall structure and that all the right content is included before we move forward with fleshing out the details of each page.
Here’s an example of a lo-fi wireframe:
Hi-Fi Mockups
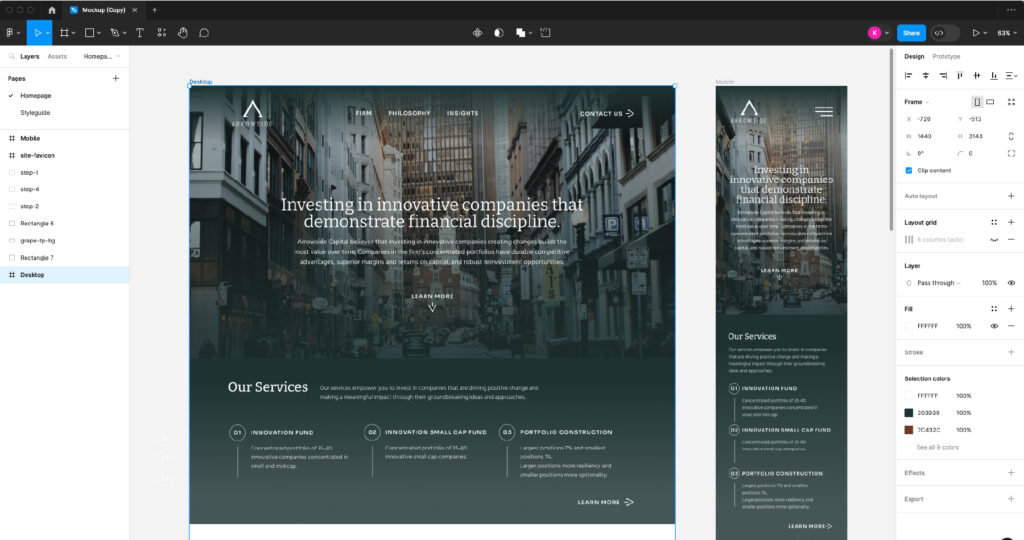
Once the lo-fi wireframes are approved, our design team will move on to hi-fi mockups. These are detailed but static representations of what the final version of your key webpages will look like, allowing you to see your website as your end user will see it. We’ll create mockups for both desktop and mobile, so together, we can make sure you’re happy with the final look and layout of key pages like your homepage, about page, and product/services page.
Here’s an example of a hi-fi mockup:
Content Migration
Just because you’re building a new website doesn’t mean everything from your old site needs to be canned. From product descriptions to old blog posts, there’s likely quite a bit of content you want to transfer over to your new website. Our development team will work with you to review your current site’s content, identify what needs to be kept, and establish a plan for migrating that content to the new site.
Credentials
This is one of those “cross your t’s and dot your i’s” steps that can’t be overlooked. Websites often use third-party plugins or subscription services to provide extra functionality. For instance, you might have a Dropbox plugin to allow customers to upload their documents to a customer portal. We want to make sure and collect any credentials for these types of plugins or subscriptions so that we can carry them over and make sure they work well on your new site.
Step Three: Build
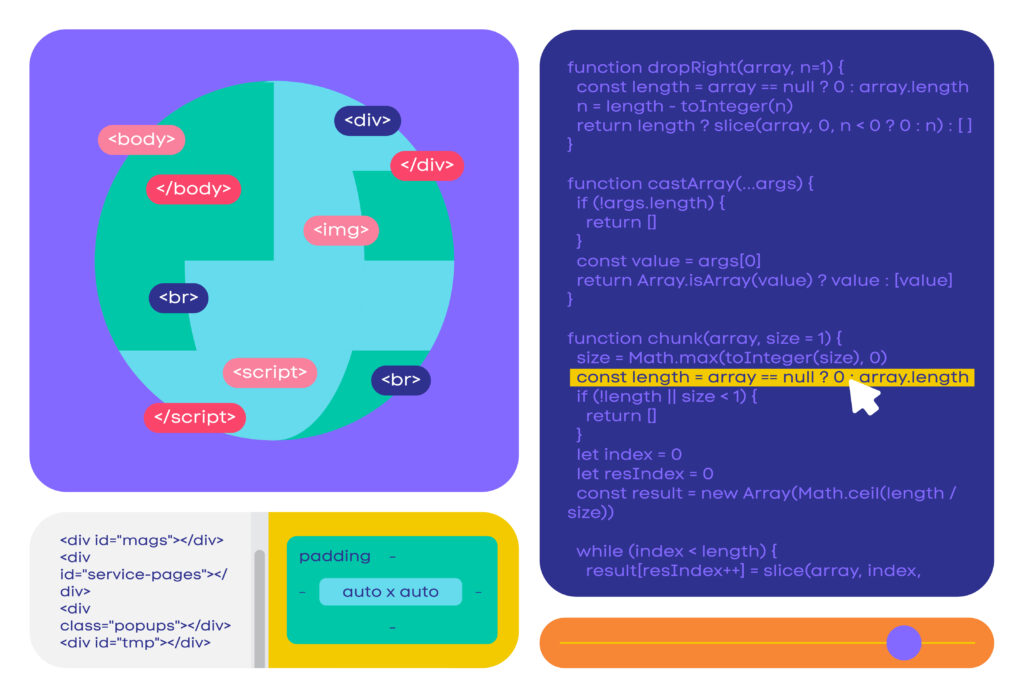
You gotta walk before you can run. Our static mockups created a nice foundation for the visual direction of your website. Now it’s time to actually build the dang thing!
While it’s an exciting next step toward bringing your website to life, this stage can also be a difficult one for businesses. Unless you come from a coding background, you likely have little knowledge of what the development process entails. It can feel like taking a leap of faith handing your baby over to a development team and trusting them to do their thing and help it grow into the awesome website you’re picturing in your head.
To help demystify the process and give you some confidence, here’s a closer look at how the build stage unfolds:
- Environment setup
- Global site setup
- Backend development
- Key page templates
- Optimize for mobile
- Add content to pages
Environment Setup
This one’s a bit inside baseball, but “environment setup” just refers to our developers creating a workspace where they can get their hands dirty and start building the new website without fear of breaking anything in a live environment.
Global Site Setup
After setting up the environment, we’ll focus on global site setup. “Global” here just refers to primary elements that will be used throughout your website. This includes text styles as well as header, body, and footer layouts.
Backend Development
Next, we’ll tackle full backend coding and development to build out the functional side of the website. All of the features outlined in the feature brief are typically tackled at this stage, which could include things like setting up your company blog and creating important signup forms.
Key Page Templates
After a foundation has been laid for the backend of your website, the next step is to code the primary page templates and prep for adding content. It’s important to create template-style blocks that can be reused for future use. This way, if you decide to add new pages to your site down the road, you aren’t building things from scratch. Plus, the layout and styling of pages will remain consistent.
Optimize for Mobile
The next step is to make sure each page is optimized for desktop, tablet, and mobile devices. Optimizing key page templates before adding content will save time and make the process much more efficient. This is also important for the SEO performance of your new site since websites that work well on both desktop and mobile devices rank higher in search engines.
Add Content to Pages
Remember all that content we worked so hard on in the planning stage? Well, now it’s time to bust it out and add it to the website! When adding content, it’s important to consider where best to place call-to-action (CTA) elements, forms, and images.
Step Four: Revise
Whew! We did it! You’ve got a brand new website — and it’s functional! But we’re not out of the woods yet. As Ernest Hemingway once said, “The first draft of anything is sh*t.” Harsh. But not untrue.
To take your new website from good to great, we’ll walk you through multiple revision rounds. This includes testing features and going over every page with a fine-toothed comb to make sure everything is running smoothly.
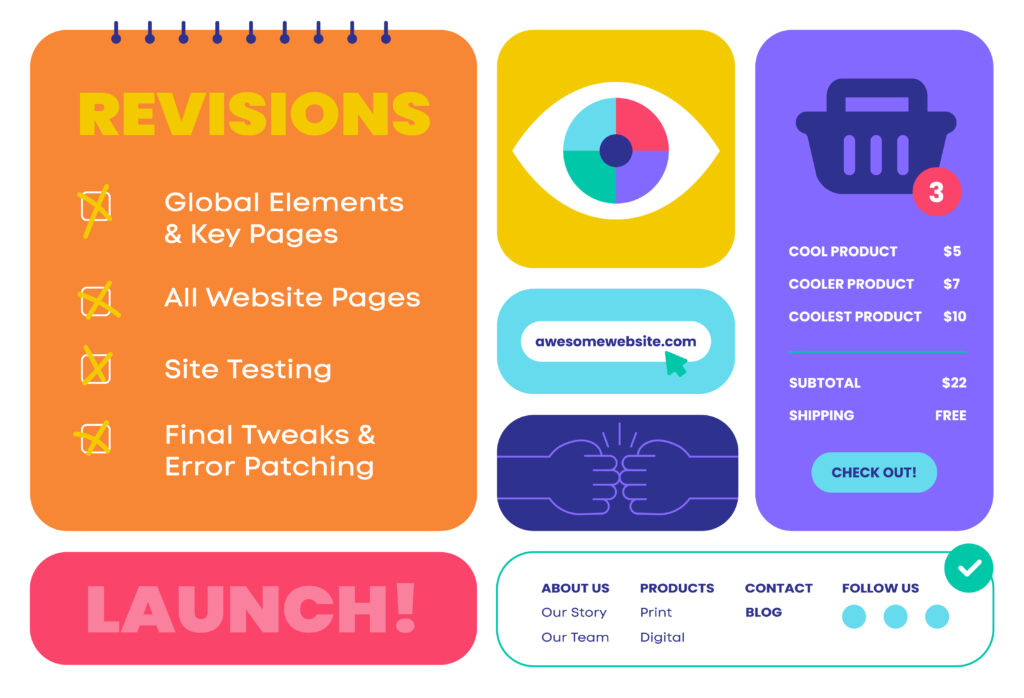
Here’s a breakdown of the revision stage:
- Round 1: Global elements & key pages
- Round 2: All website pages
- Round 3: Site testing
- Lock it in!
Round 1: Global Elements & Key Pages
Rather than diving into everything at once, we’ll focus our first revision round on global elements and key pages. We want to make sure things like footer functionality or product page layout are exactly how you want them, because those elements and page templates will be prominent and replicated throughout the site.
Round 2: All Website Pages
After implementing the revisions identified in round one, it’s time to review every page on the website. We’ll talk through any changes that need to be made either visually or functionally.
Round 3: Site Testing
With final revisions made, we’ll share the final site URL with you and some key members of our team so we can have multiple parties put your website through the wringer. We’ll test buttons and links to confirm they’re redirecting users appropriately. If your website has a shop, we’ll run some test transactions to ensure your e-commerce platform is working. Basically, we’ll poke and prod EVERYTHING on your site, leaving no stone unturned as we look for potential problems.
Lock It In!
After the testing phase, we’ll make any final tweaks and patch any errors. Then, we’ll get the final thumbs up from you. And I mean final with a capital “F” — once you sign off on the website, it is locked in place and we are preparing for launch.
Step Five: Launch
Can you believe it? Your website is ready to launch and enter the real (digital) world! But just like the whiz kids down at NASA, we need to run through a couple of checklists to make sure we get this thing off the ground safely.
Here’s how we prepare your website for takeoff:
- Pre-launch checklist
- Launch
- Post-launch
Pre-Launch Checklist
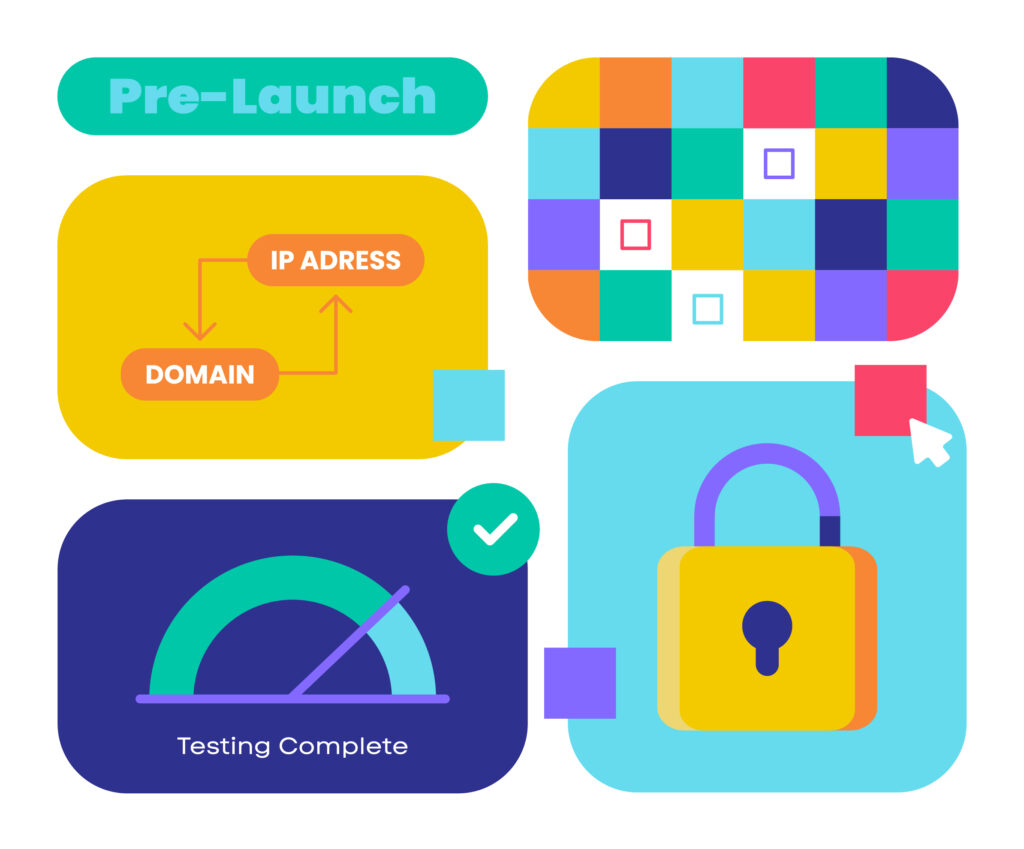
Before we go live, we’ll perform final site testing to ensure that everything is pixel-perfect and working as expected. Following that, we’ll run through a few “housekeeping” items, removing unneeded assets, securing your website, adding in disclaimers and any legal documents provided by you, and fine-tuning various settings for your website to live in the wild. Our SEO specialist will also work hard to prepare redirects and add basic on-site SEO to high-level pages.
Launch
Once pre-launch is wrapped up, our developers access your domain account and begin the process of pointing DNS to the proper IP addresses, that way your domain now routes to your shiny new website.
With that, you’re officially launched!

Post-Launch
But our work doesn’t stop there. Once your site is up and running, we’ll run through post-launch testing, similar to what we did in pre-launch, just to make sure the domain switch didn’t break anything. We’ll also go through and transfer any development licenses to you so you have full autonomy over all aspects of your website.
Step Six: Support
Well, we made it. Your website is live and hopefully living up to all the lofty expectations you had when we first started this journey together. There’s just one thing left to do, and that’s set you up for future success.
Here are some of the support resources we offer at the end of your website project:
- Training materials
- Website hosting
- Bug fixes & updates
- Post-launch projects
Training Materials
We don’t want to leave you in the lurch! As soon as your website is live and our post-launch work is complete, we’ll provide you with training materials that walk you through how to manage your website on the backend should you need to make future edits or updates.
Website Hosting
We also offer a website hosting package for clients who want a trusted partner who can manage all the behind-the-scenes details for them. This includes hosting your website on our lightning-fast dedicated server, daily backups, and a bunch of other cool features.
Bug Fixes & Updates
One of those features is regular, proactive maintenance for your site. We’ll perform monthly automated updates, monitor your site for any bugs, and on the rare occasion something goes wrong, we work quickly to get your site running smoothly again.
Post-Launch Projects
Another cool feature is the ability to complete some smaller post-launch projects that fit into your hosting hours, like creating new landing pages for ad campaigns or fine-tuning some post-launch web copy. We can also work with you on larger post-launch projects, but those will need to be scoped out and addressed separately.
And there you have it! That’s the process we use to build company websites that look awesome and achieve clients’ business goals. If you need a brand new website or a website revamp, give us a call! We’d love to talk with you, answer any questions, and see how we can help take the stress out of your next big web project.
