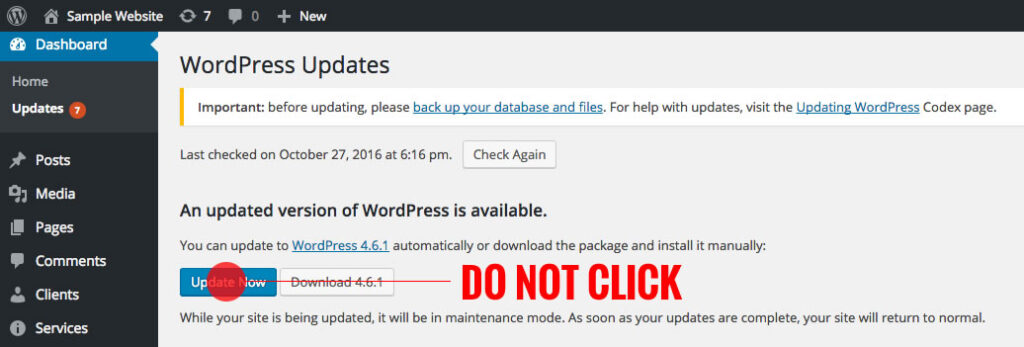
As enticing and easy as it may seem, clicking the update button inside WordPress can crash your website – like literally take down the entire operation. It’s important to keep your WordPress Website updated regularly to the latest core version to maintain security and stability but how you update is equally important.
Whatever you do, don’t just click the big blue “update” button
If you’re in charge of maintaining your WordPress Website, below is a bulletproof guide on how to safely update your WordPress Website without (hopefully) breaking anything or causing any downtime.

1. Plan
Planning when to update is half the battle. You want to make sure to deploy the update during off-peak hours just in case something goes sideways. It seems pretty straightforward but it takes a little bit of strategic planning and discipline. We recommend updating after 5pm or before 8am when most website traffic is lower.

2. Backup
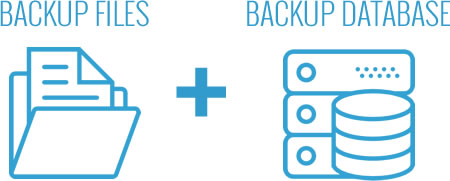
After you have a plan, it’s time to backup everything just to be safe. Depending on where your WordPress Website is hosted, you’ll want to backup both the files and database. Ideally, your website host has a “one-click” backup system. If it doesn’t, some website hosts enable you to manually backup at the server level. There are also a variety of backup plugins that you can use as an alternative.
We recommend taking both and online and offline backup of the full website to ensure double redundancy. We also recommend having a plan in place to restore the website backup if something goes wrong during the update.

3. Stage
If you want to be extra cautious, we recommend setting up a staging environment where you can test the WordPress Core update before pushing anything live. This enables you to update WordPress Core and see how the update process goes without risking any downtime or issues on your live website.
If you don’t already have an automated staging environment setup, you’ll want to setup something manually. You’ll need to add a new folder (something like ‘/staging’), new database, upload your files, change your site url to the new path and update the config file.

4. Update
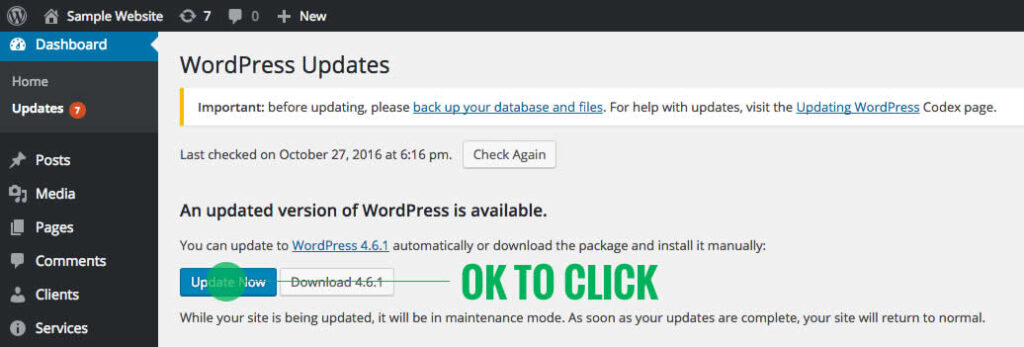
Ok, now that you’ve taken the appropriate steps you can click the big blue button. If you’re using a staging environment, login to the dashboard, visit the “Updates” tab and click the blue “Update Now” button. If you’re not using a staging environment, you may use the same instructions on your live website.

5. Test
After you’ve updated WordPress Core, it’s time to see if everything still works. If the dashboard is still visible after you update, that’s a good sign. We recommend checking the dashboard, homepage, internal pages and login page.
Don’t be afraid to dig into the pages and see if the buttons, menus and interactive elements are still working. It’s always a good idea to test as much as possible after updating so you can catch any issues right away.

6. Deploy
If you’re using a staging environment, it’s time to deploy to live. Depending on your setup, this may be a simple one-click “Deploy site from STAGING to LIVE” process or a more complex manual process. We highly recommend another quick round of testing after you deploy to live.

Conclusion
Maintain and updating a WordPress website can be time consuming and stressful but it’s critical to keeping your website safe, secure and online. If you follow the steps we’ve outlined, you should be in good shape.
Just to recap, here are the steps we recommend:
- Plan – Update between 5pm and 8am
- Backup – Take a full backup of the website (files and database)
- Stage – Use a staging environment to update first
- Update – Update WordPress Core
- Test – Test the website and dashboard
- Deploy – If you’re using a staging environment, deploy to live
If you ever need any help or would like more information about our Fully-Managed WordPress Hosting, just let us know!
