Introduction
Ready to build a new website or redesign your existing website? We’re here to help. A WordPress website should be the central hub for your digital marketing efforts and will help showcase your company, services, and products to customers.
Starting a new website project can be downright terrifying, especially if you’ve never done it before. Don’t worry, it’s not rocket science. We’ll walk you through the entire process. Whether you do it yourself or find a digital marketing partner, this guide will help you better understand the process.
Benefits of a WordPress Website
For the sake of this post, we’ll assume that you’ve decided a WordPress website is the best fit for your website needs. There are many open-source and closed-source platforms available on the market today but WordPress is by far the best and most used (spoiler alert: we think it’s awesome).
There is a reason that WordPress powers more than 35% of the internet. Yes, you read that right. And among content management platforms (CMS), WordPress accounts for over 60% of all websites. A staggering 400 million people visit WordPress websites every month. Ok so you get it, WordPress is super popular. The next logical question is “why”?
One of the biggest benefits to WordPress is that it has the largest open-source active community on the web today. That means, not only is the WordPress software free, it’s supported and always improving. Below are a few additional benefits and reasons why people choose WordPress.
- 100% Free Open-Source Software
- Active Community
- Scalable Platform
- Massive Theme & Plugin Repository
- Modern Technology (LAMP stack)
- Mobile & Browser Friendly
Create a Project Scope
Alright, so you know that you need a new website. That’s half the battle. The next step is to sketch out your project scope. Don’t overthink it, a simple outline will suffice. The purpose of a project scope is to gather all of your project needs and put pen to paper.
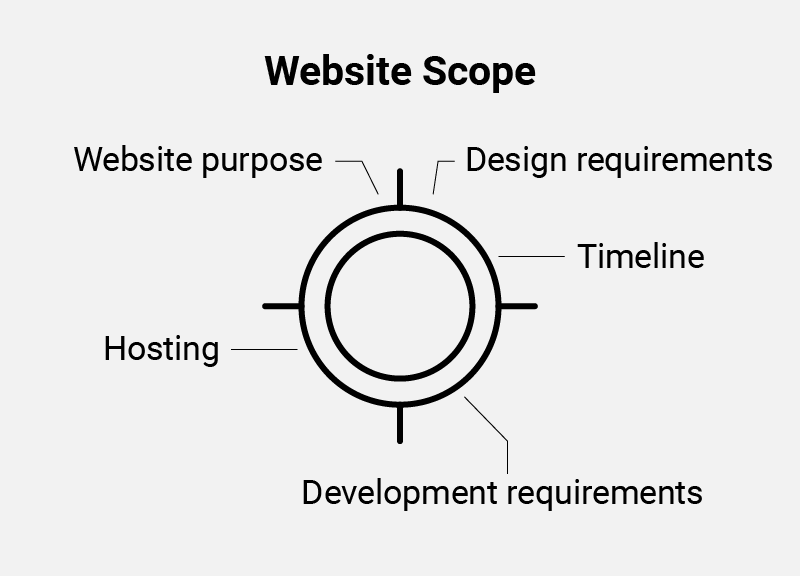
You’ll want to consider the following questions:
- Why are you building a new website now?
- What is the purpose of your website?
- Do you have any specific design requirements (fully-custom design vs. theme-custom design)?
- Do you have any specific development requirements?
- Who will be hosting and maintaining your website?
- When do you want to launch your new website?
After you’ve finished writing your project scope, it’s important to review with the key decision makers in your organization. Whether it’s just you, your marketing team, or the executive team – you’ll need to get sign-off so you have a solid and accurate project scope document.
Once you have a finalized project scope, you can take this document to either your internal team or share with your marketing agency. Either way, you’ll want to make sure that you review the document together so everyone has the ability to ask questions and get clarification on specific details.
Project Kickoff
Before you begin, you’ll need to get all of your proverbial “ducks in a row”. We recommend getting all of the important people on your project in the same room for a kickoff meeting. It’s always a little tricky because you don’t want too many cooks in the kitchen but it’s better to err on the side of caution and include key decision makers in the beginning stages.

During the kickoff meeting, you’ll want to have a pre-prepared agenda that will cover all of the important aspects of your project. We recommend reviewing your project scope, milestones and timeframes, key players, responsibilities, and any other relevant or important information that will determine the success of the project.
After you finish your project kickoff meeting, it’s a good idea to send or post a quick recap for your team so everyone can go back and reference important details that were covered. Even just a quick email will suffice. Once you’ve recapped everything, it’s time to get things rolling. Below we’ll cover the 7 phases we utilize when building a WordPress website.
1. Planning
The first phase of your project will be centered around planning which will include gathering all of the project assets such as login credentials, logo files, brand guidelines, and any other necessary items.
Below is a preliminary list of assets that we gather during the planning phase of our website projects.
- Login Credentials
- Logo Files
- Brand Guidelines
- Sitemap
- Page Content / Copy
- Images / Photography
- Videos
- 3rd Party Integrations
It’s critical to the success of your project that you obtain all of the project assets before you move onto the next phase of your project. One of the most effective ways to gather these assets is to create a Google Drive or Dropbox folder to store everything. Not only will it save you time and headaches, it will empower your team to collaborate and take some of the burden off your shoulders.
2. Design
After you finish the planning phase, it’s time to start the fun stuff. It’s time to pull out the canvas and start painting the vision. One of the most helpful assets you can create in this phase is called a “Mood Board”. Essentially, a mood board is a collection of graphics, typography, imagery, and layout elements that will serve as the general “design direction”.
Below are some design assets that you should consider creating.
- Mood Boards
- Wireframes, Mockups, Prototypes
- Theme Selection & Customization
- Revisions
- Final Artwork Preparation
When it comes to the actual design, a large part of this phase depends upon your project scope and whether you are designing a fully-custom WordPress website or a theme-customized WordPress website. If you’re going the fully-custom route, you’ll want to create wireframes, mockups based on the wireframes, and then potentially interactive prototypes that are based on your mockups. Whereas if you’re going the theme-customized route, you’ll want to create mockups based on the selected theme layouts.
After you create preliminary design assets, you’ll want to go through a revisions process with your team to make sure your designs are dialed-in. Once you have finalized designs, you’ll want to prepare the artwork for your development team in a code-friendly format (otherwise you’ll have some angry programmers on your hands).
3. Development
With your final design files in-hand, it’s time for the behind-the-scenes magic to happen. Depending on your project scope, your development team will likely spin-up a development or staging instance on your website server to build your new WordPress website. We recommend making sure that your Fully-Managed WordPress Website Hosting has daily backups and one-click restore points active and running smoothly.
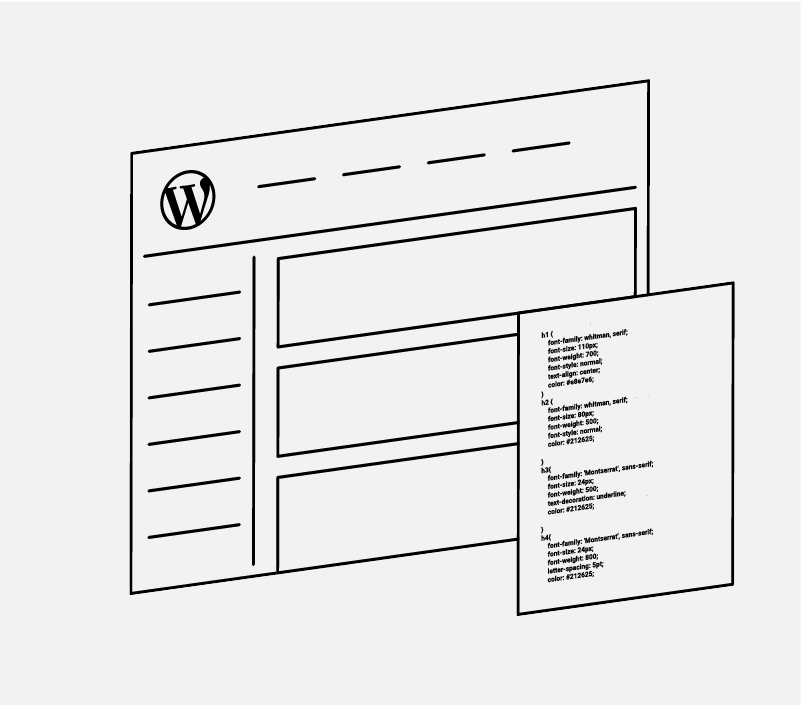
The website development process is going to be a little different for everyone but the general flow should be similar. After your new WordPress instance is setup, you’ll want to setup SFTP and a secure connection to your database. Then, you’ll want to install your base or child theme in the WordPress admin back-end.
At this point, it’s time to start coding your designs through either the base theme or child theme. After the primary theme coding is complete, you’ll want to add your content in the admin through the pages, posts, and widget modules.
- Setup SFTP
- Establish Secure Connection to Database
- Install WordPress CMS
- Install Theme and Plugins
- Code Your Designs
- Add Content
Once the development website has been setup, coded, and all content has been added, it’s important to perform some post-development checks to make sure everything is in working order.
4. Revisions
Upon completing the development phase, you’ll want to work with your internal team to review the development website and prepare a list of requested updates and changes. It’s important to communicate with the “review team” that all mobile and browser optimization will be performed in the pre-launch phase.
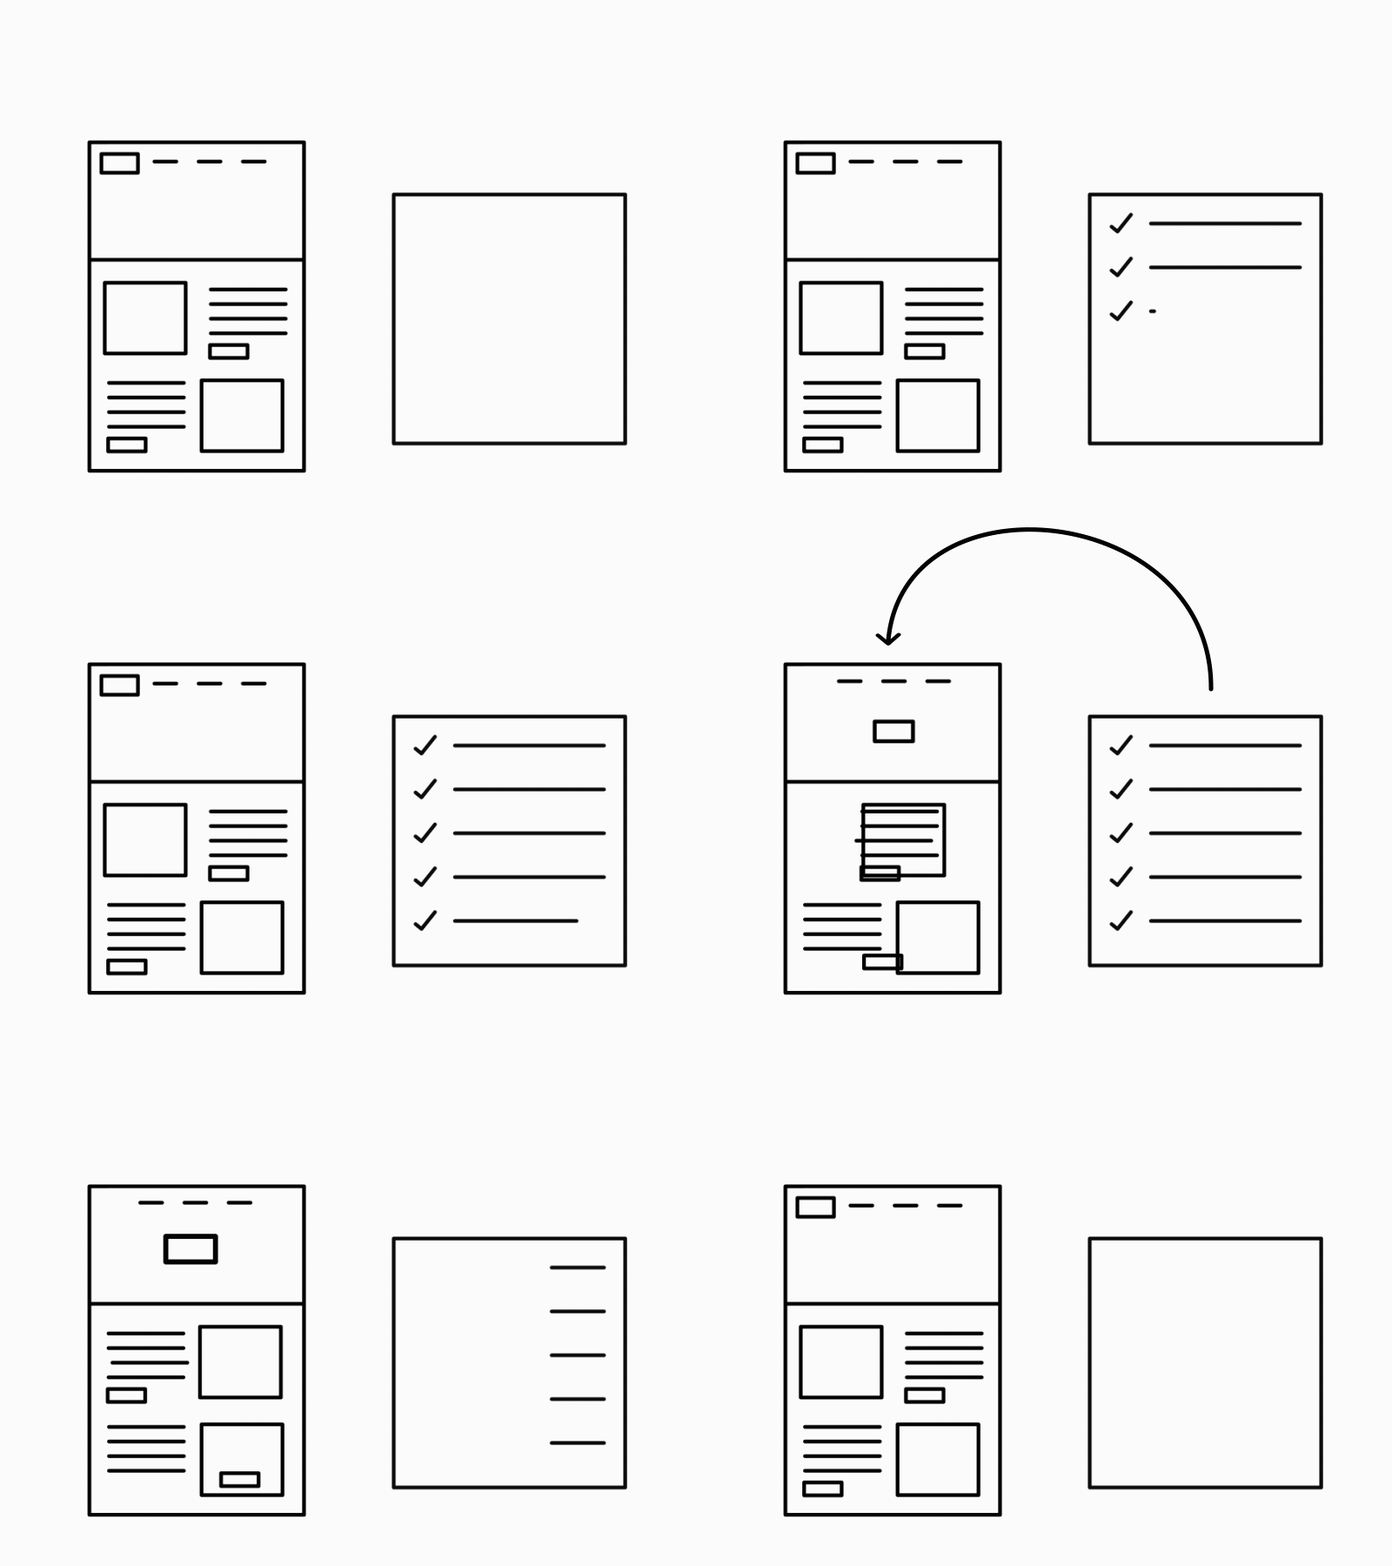
As you roll through revision cycles, you’ll want to make sure that requested updates and changes are logged in a spreadsheet or system so everyone has access to the information and can track the status of the project.
One helpful tip during this phase is to make sure your review team does not duplicate or re-request changes in later revision cycles. It’s important for the development team to have a clear and concise list of revisions without having to perform the same changes back and forth.
5. Pre-Launch
Once you and/or your review team sign-off on the development website, you’ll want to work on a pre-launch checklist which will make sure you cover all of your bases. The pre-launch phase is critical to effectively putting the finishing touches on your new website.
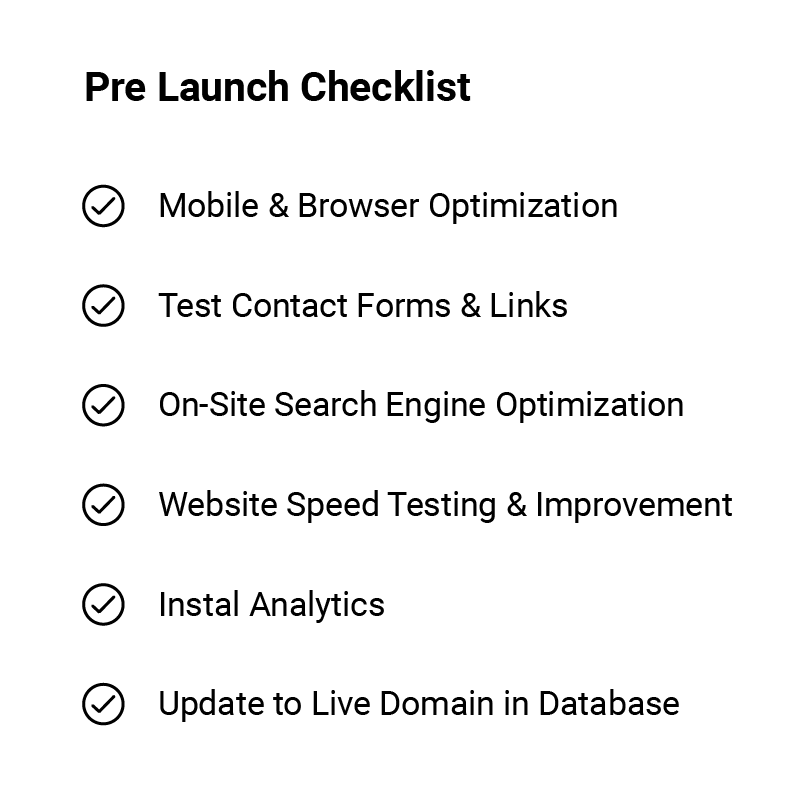
Each of these tasks will help mitigate potential issues and ensure that the user experience is both smooth and engaging.
- Mobile & Browser Optimization
- Test Contact Forms & Links
- On-Site Search Engine Optimization
- Website Speed Testing & Improvement
- Install Analytics (ex. Google Analytics)
- Update to Live Domain in Website Database
After you finish your pre-launch checklist, you’ll want to run through the development website one last time before you schedule the launch. We recommend scheduling website launches during off-traffic times – usually during nights or weekends. It’s also important to make sure your development team is available during the launch in case anything goes haywire (fingers crossed).
6. Launch
The big day is finally here! Crack the champagne and fire up the party bus. However, before you get too excited, there is still plenty of work to do. First, you’ll want to update your domain DNS records so your live domain points to your website server. After you make this update, the propagation can take anywhere from a few minutes to hours. We recommend setting the TTL to as short as possible.

Once DNS propagation has completed, you should be able to see your new website on your live domain. Hooray! Next, you’ll want to make sure the SSL certificate is installed and you test all of your url redirects.
- Domain DNS Records Update
- SSL Certificate Installation
- Setup Redirects (for existing websites)
After you’ve finished the launch, now you can really celebrate! Take the team out for drinks or head out on the town for a fun night. Whatever you decide to do, make sure to thank each and every person that was involved in making your new website a success.
7. Post-Launch
Now that your new website is live, it’s time for you and/or your team to get trained on how to make updates in the WordPress admin. Whether you are training your team, you purchase a WordPress website training course, or your marketing agency is walking you through everything, don’t skip this step! It’s important to get comfortable with your new website. Dig in and get your hands dirty. And don’t worry about breaking anything, as long as your Fully-Managed WordPress website hosting has daily backups and one-click restore points, your website is safe and sound.
The last step is to make sure your Fully-Managed WordPress Website Hosting & Maintenance is setup, configured, and you have a primary contact for support.
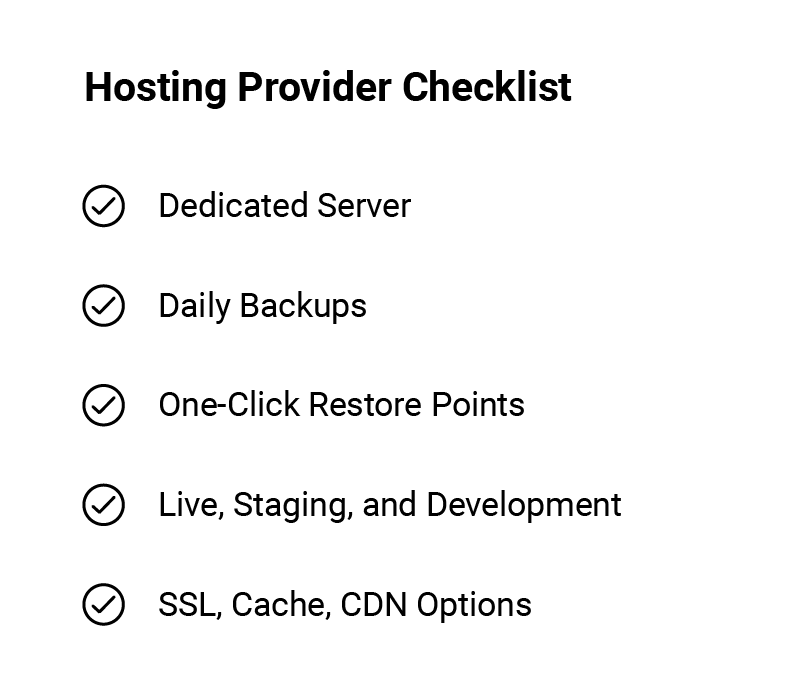
We highly recommend that you pick a provider that provides the features below.
- Dedicated Server
- Daily Backups
- One-Click Restore Points
- Live, Staging, and Development Environments
- SSL, Cache, CDN Options
Lastly, we recommend you establish a strong partnership with your hosting company so that you can quickly and effectively request support for any issues or necessary maintenance that may arise. One of the benefits to working with a local company is that you’ll have a personal contact who will be taking care of your website 24×7. It’s always nice to have that kind of peace of mind.
Conclusion
Congratulations! You’ve made it through this guide and you’re ready to take the plunge. Just remember, take a deep breath, assemble the right team of people, and stick to your project scope. You’ve got this.
If you ever need any advice or help, don’t hesitate to reach out and get in touch with us. At Sproutbox, we have a rock-solid team of WordPress website project managers, designers, and developers. We also offer Fully-Managed WordPress website hosting & maintenance for our clients. When you’re ready, we’re always just a call, text, email or chat message away. Let’s get to work.
